Repair Your Canvas Prints: Simple Guide Inside
Posted by MintSuper Art on 24th Dec 2024
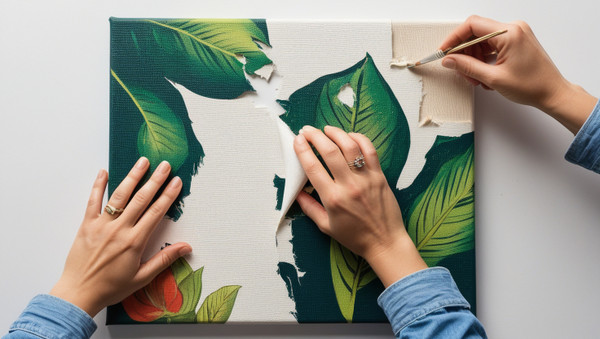
Repairing a canvas print doesn’t have to be difficult or stressful! With the right tools and simple steps, you can easily fix tears, rips, or other damage and restore your favorite artwork to its original beauty. Whether it’s a cherished photo or a stunning piece of art, you can bring it back to life with just a little effort. Keep reading to discover how to repair your canvas prints and make them look as good as new!
Key Takeaway
- You can fix tears in canvas prints with a few simple materials.
- Always work on a flat surface to keep everything neat.
- Regular care helps prevent damage to your artwork.
Extending the Life of Your Canvas Prints
Even the best canvas prints may need occasional care. Common issues include loose corners, small tears, or surface marks. Many of these can be fixed with basic DIY repair techniques or professional touch-ups, ensuring your artwork maintains its value and appearance.
Materials Needed for Canvas Repair

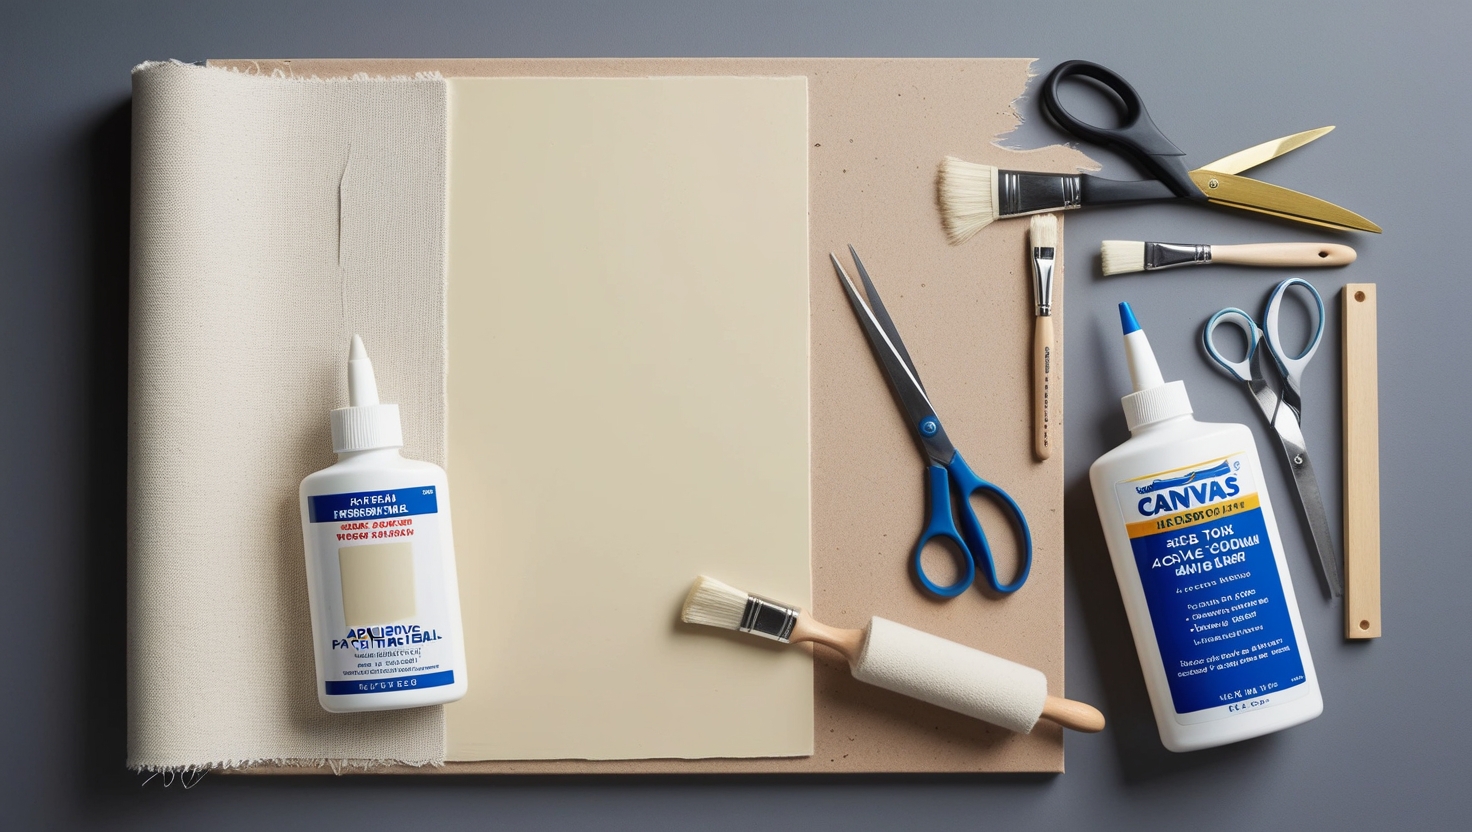
Gathering the right materials is the first step to fixing a canvas print. It’s like gathering ingredients for a recipe. Here’s what you need:
Patch Material
Start by choosing a strong piece of canvas or fabric. It should match the texture of your original canvas as closely as possible. This patch will be the backbone of your repair, so don’t skimp. Go for quality over convenience—you want something sturdy enough to hold up over time.
When picking your patch material:
- Match the Texture: The closer it feels to your canvas, the better the result.
- Choose Durability: A strong fabric is less likely to tear or wear out.
- Cut to Fit: Trim it to slightly overlap the damaged area for secure coverage.
This simple step lays the foundation for a solid repair.
Adhesive
The right glue makes all the difference. Use acid-free options to protect your artwork, like PVA glue or acrylic medium. These adhesives are safe, strong, and built to last.
Tips for using adhesive:
- Avoid Cheap Glues: They can cause discoloration or weaken over time.
- Apply Evenly: Use a brush to spread a thin, consistent layer.
- Check for Drying Time: Follow the instructions for the best bond.
A good adhesive paired with the right patch ensures your artwork stays intact and beautiful.
Tools
Here’s your mini toolkit:
- Scissors: For cutting the patch to the right size.
- Paintbrush: To spread the glue smoothly.
- Brayer or roller: To press the patch evenly and remove air bubbles.
Weights
You’ll need something heavy to keep the repair flat while drying. Books, bricks, or even a toolbox will do the trick. Anything solid and weighty works.
Having these materials ready keeps the repair smooth and stress-free. With the right tools in hand, you’ll have your canvas looking good as new in no time.
Having these items ready makes the repair process easier and faster. It’s like preparing for a school project. The more organised you are, the better the result.
Step-by-Step Repair Process

Now that the materials are ready, it’s time for the fun part—repairing the canvas print. Here’s how to do it step by step:
- Prepare the Patch: Cut a piece of canvas slightly larger than the tear—about an inch bigger on all sides. This extra margin will help the patch stick securely and provide solid support. Use sharp scissors for a clean edge. Before attaching, check that the patch lies flat against the back of the canvas. Trim any uneven edges if necessary. A smooth fit now saves trouble later.
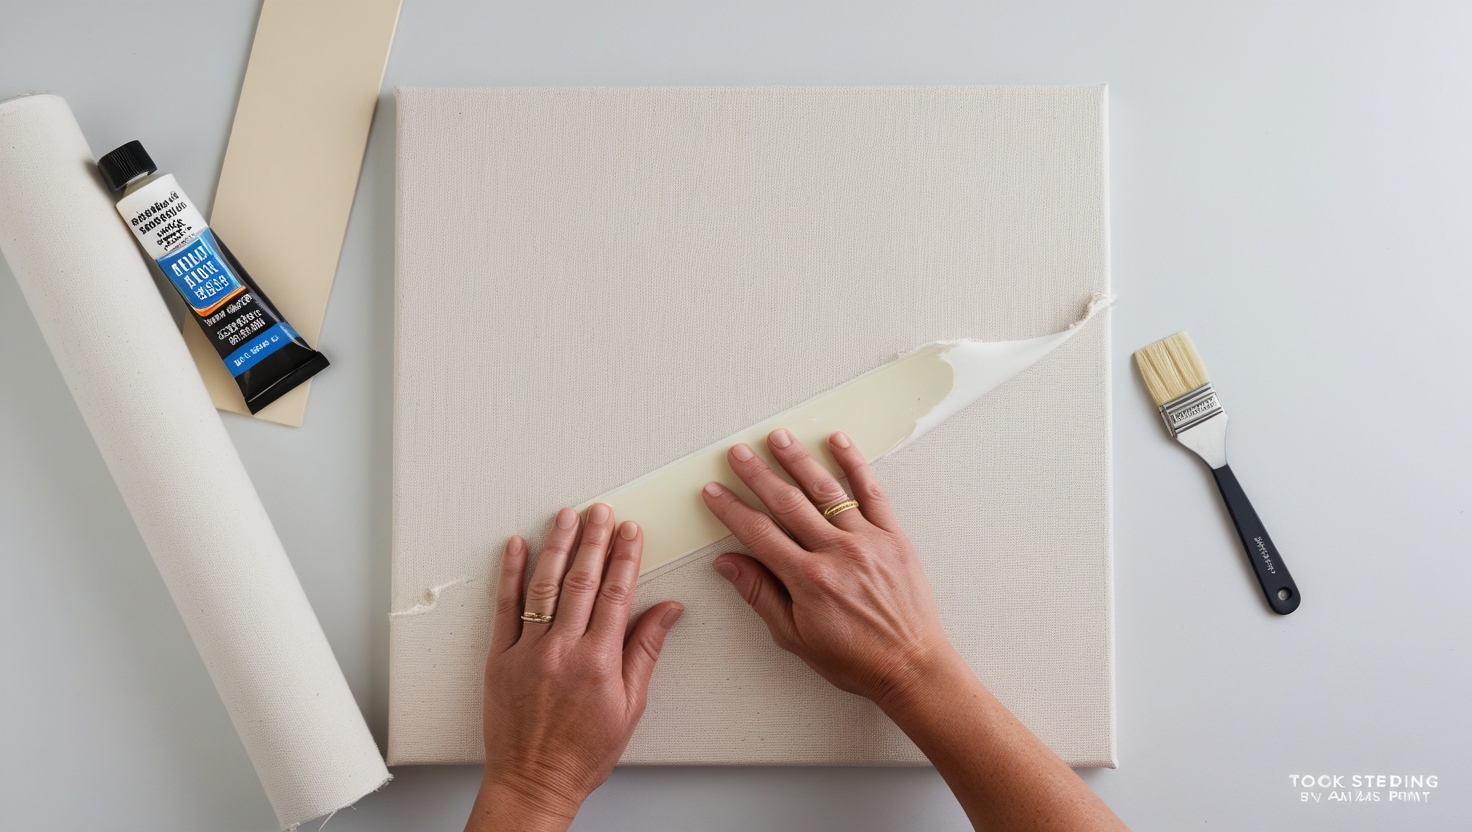
- Apply Adhesive: Flip the canvas print face-down on a clean, flat surface. Take the patch and spread glue evenly on one side. Avoid overdoing it—too much glue can seep out and make a mess. Use a brush or a small spatula to spread the adhesive neatly. Double-check that the glue covers the patch edges well. This ensures the patch holds tight and won’t peel off later.
- Position the Patch: Carefully place the glued side of the patch over the tear. Make sure it covers the damaged area completely. Smooth it down with your hand, pressing firmly so it sticks evenly. For an extra secure hold, press the edges of the patch to ensure no part lifts off. It’s all about making it seamless.
- Secure the Patch: Place a piece of hardboard or a sturdy, flat material over the patched area. This keeps it flat while the glue sets. Add weights—books or cans work great—to apply pressure. Let it dry for several hours or, better yet, overnight. Patience pays off here with a smooth and sturdy repair.
- Finishing Touches: Once dry, inspect the repair. Trim any loose threads with tweezers or small scissors. This step keeps things tidy. If the patch doesn’t match the canvas, blend it in with paint. Use a fine brush to dab color over the patch until it matches the surrounding area. With care, it’ll look good as new.
Following these steps will help repair the canvas print nicely. It’s like putting together a puzzle. Each piece matters to create a beautiful picture.
Additional Tips for Successful Repairs
Sometimes, canvas prints can be more damaged than just a simple tear. Here are some extra tips for better repairs:
- If your canvas has multiple tears or jagged edges, leave it to the professionals. They’ve got the tools and experience to handle tough repairs without causing more damage.(1)
- Keep your canvas prints away from direct sunlight and humidity. Too much sun can fade the colors, while humidity might warp the material. Treat them like a fragile treasure, and they’ll stay vibrant and beautiful longer.
- Wipe your canvas prints with a soft, clean cloth every now and then. This keeps dust from building up and dulling the artwork. A little upkeep can make a big difference.
Taking care of canvas prints can save a lot of trouble later. Just like how brushing your teeth prevents cavities!
General Repair Techniques
Credits: Our Studios Series
Here are some important things to remember when repairing canvas prints:
- Front Repair: Always fix canvas prints from the front. This keeps the artwork looking clean and polished, which is important since it’s the first thing people notice. Be gentle while working to avoid further damage.
- Patch Material: Choose a piece of canvas or similar fabric for the patch. Make sure it’s at least one inch larger than the tear or hole. This extra fabric adds strength and helps everything stay in place.
- Adhesive Options: Go with acid-free glue like PVA or an acrylic medium. These options stick well and won’t harm your artwork over time. You can also try gesso or gel mediums—they’re reliable and effective.
These tips will ensure that the repair looks good and lasts. It’s all about keeping the artwork looking its best.
Maintenance Tips for Canvas Prints
To keep canvas prints in good shape, here are some helpful maintenance tips:
Humidity Control
Keep your canvas prints in dry spaces. Too much moisture can cause warping or cracking, which is hard to fix. If you live in a humid area, use a dehumidifier to keep the air balanced. Basements and bathrooms? Avoid them—they’re canvas enemies. Even a little attention to humidity makes a big difference.
When storing your prints, wrap them in acid-free paper. This keeps moisture and dust away. Make sure they’re not pressed tightly against each other. Let them breathe a bit. A little air circulation helps keep them fresh.
Quick tip: Check the wall. Sometimes, condensation can build up behind frames on exterior walls. Moving the print to an interior wall might save it from damage.(3)
Sunlight Exposure
Keep canvas prints out of direct sunlight. Sunlight can fade colors and weaken the material over time. If you want to display them in bright spaces, consider UV-protective glass. It’s an investment, but it pays off in the long run.
For even better protection, choose a spot with indirect lighting. Rooms with curtains or blinds work well. You can still enjoy your art without exposing it to unnecessary wear.
Another tip: Rotate your prints occasionally. This prevents uneven fading if one side gets more light. Small changes like these help preserve the vibrancy of your artwork.
Regular Dusting
Dust your canvas prints regularly to keep them looking sharp. Use a soft, dry cloth or a feather duster. Microfiber works great because it won’t scratch the surface. Whatever you do, don’t use water or cleaning sprays.
If there’s stubborn dirt, try a dry, soft-bristle paintbrush. Gently sweep it across the surface in one direction. Avoid pressing too hard—canvas is delicate. Finally, make dusting a habit. A quick wipe-down every couple of weeks will keep your prints fresh and free from buildup. Clean prints, happy walls! Taking simple steps to maintain canvas prints can go a long way. Just like regular check-ups keep you healthy.
Professional Help for Valuable Pieces
If your canvas print is precious or seriously damaged, it’s best to call in a professional. Restorers have the skills and tools to fix artwork without making things worse. They’ll help you protect your favorite pieces for years to come.
Here’s why going pro is a smart move:
- Expert Care: Restorers know how to handle even the most delicate artwork.
- Specialized Tools: They use materials designed to preserve and repair art.
- Long-Term Value: Proper restoration keeps your canvas looking its best while maintaining its worth.
Don’t risk damaging something you love. Let a professional handle the heavy lifting. You’ll have peace of mind knowing your art is in good hands.
FAQ
How Do I Repair a Torn Canvas Painting Without Ruining the Original Canvas?
To fix a ripped canvas painting, first clean the damaged area and trim any frayed edges. Apply pva glue around the edges of the tear, then place a canvas patch behind the tear. Press the loose threads into place and let it dry completely. This method works well for both cotton canvas and linen canvas repairs.
What's the Best Way to Remove Air Bubbles from Canvas Prints?
Place your canvas print face down on a clean flat surface. Use a spray bottle with hot water to lightly dampen the back of the canvas, then apply gentle heat with a hair dryer. Place a book on top and let it dry completely. This technique helps the canvas fabric settle properly against the wooden stretcher.
How Can I Fix Loose or Separated Canvas from Stretcher Bars?
Turn the canvas over and inspect where it's pulling away. For stretched canvas repairs, you'll need art supplies like matte medium or gel medium. Apply the medium along the edges where the canvas meets the wooden stretcher, then press firmly and let dry completely.
What's the Best Method to Patch a Large Tear in High Quality Canvas?
Cut a piece of quality canvas slightly larger than the damaged area. Using acrylic matte medium or pva glue, secure the patch in place behind the tear. Use a palette knife to smooth the front of the canvas where the repair occurred. This technique works for both canvas prints and canvas paintings.
How Do I Fix Canvas Fibers That Are Starting to Fray?
For loose threads and fraying on your original painting, use mixed media techniques. Apply acrylic painting medium around the affected area, working on a flat surface. This helps secure canvas fibers and prevents further damage, especially useful for oil painting or acrylic painting repairs.
Conclusion
In conclusion, repairing canvas prints is a simple process that anyone can do with the right tools and steps. By taking care of artwork, it stays vibrant and intact for a long time. Following these tips helps to ensure that canvas prints remain a cherished piece of art.
References
- https://www.chrischalkart.com/painting_blog/how-to...
- https://www.wikihow.com/Repair-Canvas
- https://medium.com/@canvasartistry49/can-canvas-pr...

