

7 Steps on How to frame a canvas art? DIY, Benefits & Cost
Posted by MintSuper Art on 12th Apr 2024

Framing canvas art is a fantastic way to enhance and protect your artwork while adding a touch of personal style to your space. This simple process not only allows you to customise the look of your art but also offers benefits like preservation, presentation, and versatility.
For DIY enthusiasts and budget-conscious decorators, DIY canvas frame offers an excellent opportunity to showcase their creativity while saving costs compared to custom framing services. By framing your canvas, you can tailor the frame to match your decor style and preferences, making your artwork truly unique.
Benefits of Canvas Framing
DIY canvas frame offers a multitude of benefits, from enhancing the visual appeal of your artwork to providing protection and preservation. Whether you're a seasoned DIY enthusiast, learning how to frame canvas art can significantly elevate your home decor. By transforming an unframed canvas art painting into a professionally framed masterpiece, you can customise the look to suit your style and preferences. With the use of simple tools like wood glue, a nail gun, finishing nails, and a tape measure, having your own framed art becomes a straightforward process.
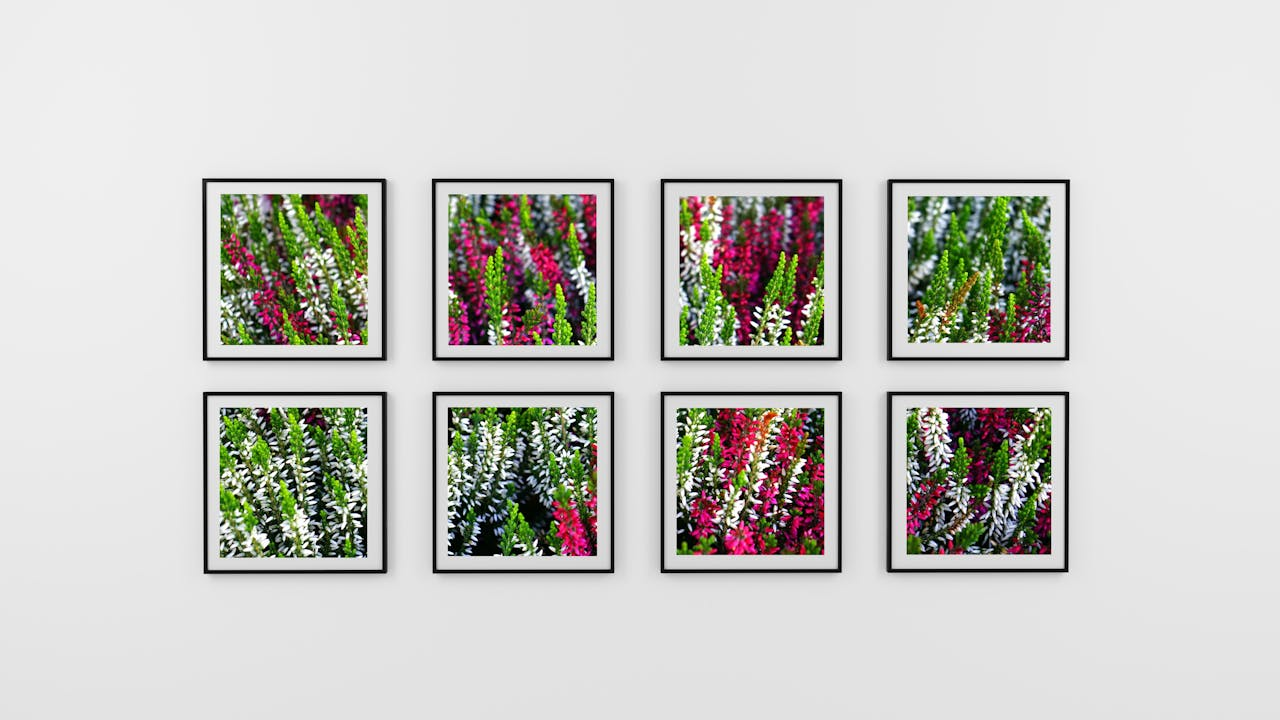
This allows you to save on the cost of custom framing services while creating exclusive content for your walls. With features like mitred corners, hanging wire, and offset clips for larger canvases, framing a canvas is a super easy way to add a touch of sophistication to your gallery wall.
Protection
Framing canvas painting shields it from physical damage, dust, UV rays, moisture, and warping, preserving its beauty and integrity over time. The own frame acts as a sturdy barrier, protecting the artwork from everyday hazards and environmental factors, ensuring its longevity for years to come.
Enhanced Appearance
Framing provides a polished presentation, allowing for customisation with frame styles and materials to complement the artwork and surroundings. It draws focus, enhances size and scale, and offers colour coordination, transforming unframed canvases into captivating focal points for any room.
Preservation
Framing canvas art protects it from dust, UV rays, moisture, and physical damage, ensuring its longevity and maintaining its original beauty for years to come.
Value Boost
Framing can significantly increase its perceived value. A well-framed piece appears more professional, enhancing its appeal to potential buyers or collectors. Additionally, it protects the artwork, preserving its condition over time, which can contribute to its long-term value appreciation.
Versatility
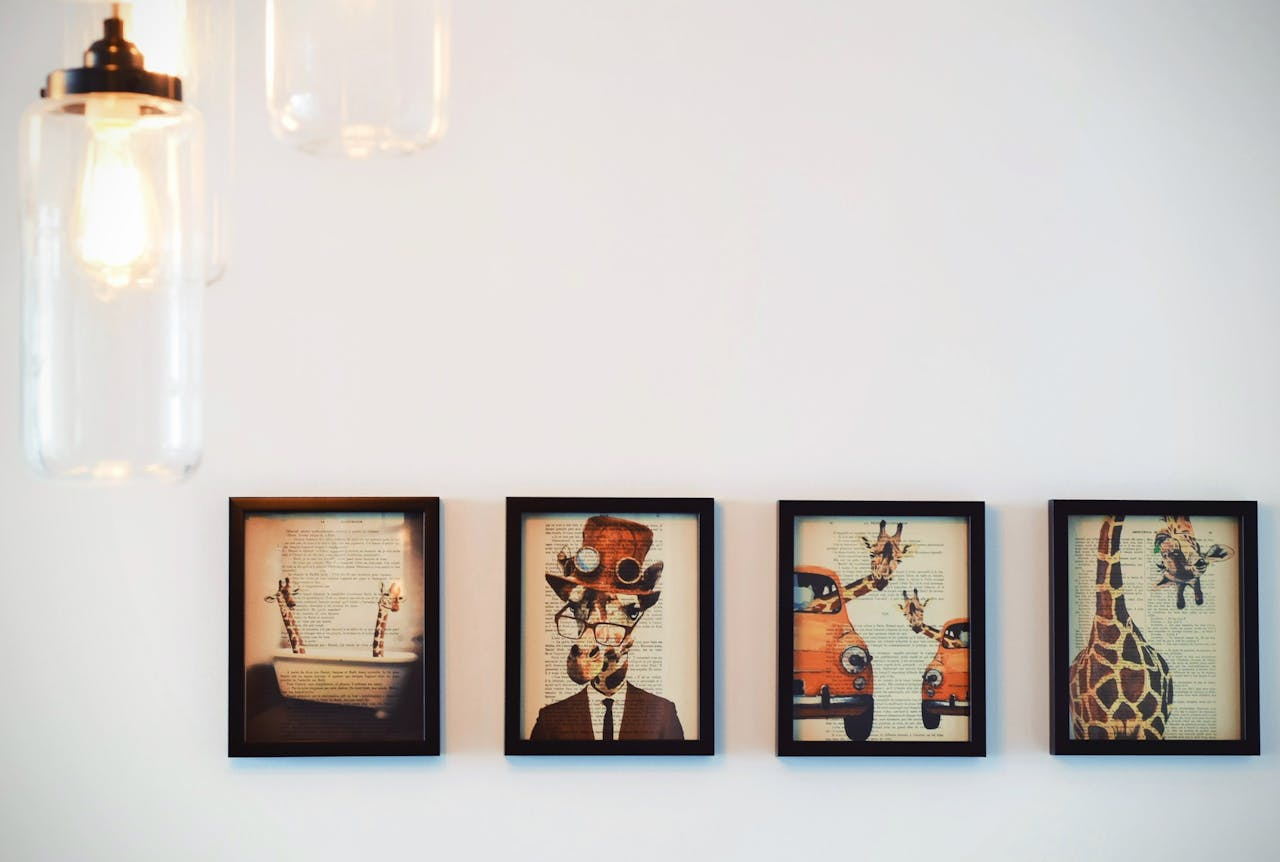
Framing canvas art enhances its versatility by allowing it to be easily integrated into various settings and decor styles. A framed canvas can be effortlessly moved from room to room or even displayed in different homes without losing its aesthetic appeal.
Additionally, framed artwork can be part of a gallery wall arrangement or a stand-alone focal point, offering flexibility in interior design choices. This ensures that the artwork remains relevant and adaptable to changing tastes and preferences, making it a valuable investment for any space.
7 Easy Steps to Frame Your Canvas Art
DIY canvas frame at home is a straightforward process that adds a professional touch to your decor. You can create a customised frame for your artwork without the need for expensive custom framing services.
Gather Your Supplies
To frame your canvas art, you'll need the following tools and materials:
- Tape Measure: For accurate measurements of your canvas and frame.
- Saw: To cut wood for the frame to the desired dimensions.
- Sandpaper: To even the rough edges of the wood frame.
- Frame: Pick a frame that suits your style and complements your artwork.
- Hanging Hardware: D-rings, wire, or sawtooth hangers for easy wall mounting.
- Wood Glue: To join the frame pieces securely.
- Finishing Nails: For fastening the frame corners together.
- Offset Clips: Used for larger canvases to maintain tension.
- Spray Paint or Wood Stain: For customising the frame's colour and finish.
You can find these supplies at your local hardware store, craft store, or online retailers specialising in framing supplies for a successful DIY framing project, allowing you to create a great frame for your canvas painting.
Measure Your Canvas
Accurate measurement of your canvas is crucial for ensuring that your frame fits perfectly and securely. Here's why precise measurements are important:
- Proper Fit: Measuring your canvas ensures that the frame will fit snugly around the edges without leaving any gaps or overhanging edges.
- Stability: A properly fitted frame provides stability and support to the canvas, preventing warping or sagging over time. Incorrect measurements could result in a loose or tight fit, compromising the structural integrity of the artwork.
- Aesthetic Appeal: Precise measurements contribute to the overall aesthetic appeal of the framed artwork. A frame that fits well enhances the presentation of the canvas, making it visually appealing and cohesive.
To measure your canvas, follow these instructions:
- Width: Place the tape measure horizontally across the canvas from one side to the other, measuring the distance between the two outer edges. Ensure the tape measure is straight and stretched for an accurate measurement.
- Height: Position the tape measure vertically along the canvas, measuring the distance from the top edge to the bottom edge. Again, make sure the tape measure is straight and taut to obtain an accurate measurement.
- Depth: Measure the depth of the canvas by placing the tape measure along one of the side edges, from the front surface to the back surface. This measurement will help determine the thickness of the frame needed to accommodate the depth of the canvas.
Choose the Right Frame
When choosing the right frame for your canvas art, several factors should be considered to ensure it complements the artwork and fits into your space. Here are some key considerations:
- Size: The frame should be proportionate to the size of your canvas, neither overwhelming nor too small. Consider the overall dimensions of the artwork and select a frame size that enhances its visual impact without overshadowing it.
- Style: The style of the frame should balance with the aesthetic of the artwork and your decor. Choose a style that complements the mood and theme of the artwork.
- Material: Frames are available in various materials, each offering unique characteristics and aesthetics. Common frame materials, including wood, metal and plastic, offer different benefits.
- Cost: Consider your budget when selecting a frame, as prices depends on the material, size, and style. While custom framing services may offer more options, they can also be more expensive. DIY framing kits or pre-made frames from stores offer cost-effective alternatives.
Prepare the Frame
If you've chosen to paint or stain your frame for a custom look, follow these simple steps to prepare the frame:
- Sanding: Start by sanding the surface of the frame lightly to smooth out any rough edges or imperfections. Use fine-grit sandpaper and sand in the wood grain. This step creates a clean and even surface for painting or staining.
- Applying Paint/Stain: Once the frame is sanded, you're ready to apply your chosen paint or stain. Use a brush to apply the paint or stain evenly across the surface of the frame, ensuring full coverage.
- Drying Time: After applying the paint or stain, allow the frame to dry thoroughly according to the manufacturer's instructions. This typically involves waiting for the paint or stain to dry to the touch before handling or applying additional coats. Drying times may vary due to the type of paint or stain, so be sure to allow enough time for each coat to dry completely.
Assemble the Frame
Assembling the frame for your canvas painting or art involves cutting it into pieces (if using raw wood) and joining them together using corner brackets or glue. Here are step-by-step instructions for this process:
- Measure and Cut the Wood: Start by estimating the length and width of your canvas, adding a few inches to each measurement to allow for overlap. Use a saw to cut the wood pieces to the desired dimensions, ensuring that the ends are cut at 45-degree angles for mitred corners.
- Sand the Edges: Use sandpaper to even out any rough edges on the cut wood pieces.
- Assemble the Frame: Lay out the cut wood pieces on a flat surface, arranging them to form the frame for your canvas. Apply wood glue to the mitred corners of the frame pieces, ensuring even coverage.
- Join the Corners: Use corner brackets or clamps to hold the frame pieces together securely while the glue dries. Make sure the corners are aligned properly to create a seamless joint.
- Check for Squareness: Use a carpenter's square or tape measure to check that the frame is square and true. Adjust the position of the frame pieces as needed to ensure that all corners are at right angles.
- Allow Glue to Dry: Leave the frame undisturbed for the recommended drying time specified on the wood glue packaging. This makes the glue to cure fully and bond the frame pieces together securely.
- Optional Reinforcement: If desired, reinforce the corners of the frame with finishing nails or screws for added strength and stability. This step is particularly important for larger frames or heavy canvases.
Attach the Canvas to the Frame
Attaching the canvas to the frame is a crucial step in the framing process, ensuring that the artwork is securely held in place while maintaining its integrity. Here are different methods for attaching the canvas to the frame:
- Stapling: A common method is using a staple gun to connect the canvas to the back of the frame. Position the canvas evenly within the frame, fold its edges over the back, and staple them to the frame's edges at regular intervals. Trim any excess canvas if needed.
- Hanging Clips: An alternative is using hanging or offset clips to secure the canvas to the frame. These clips attach to the frame's back, holding the canvas without staples. Position the canvas in the frame, then attach the clips along its edges to secure it.
It's important to use acid-free materials when attaching the canvas to the frame to protect the artwork from potential damage over time. Acid-free materials help prevent yellowing, fading, and deterioration of the canvas, ensuring its longevity and preserving its quality for years to come.
Hang Your Framed Artwork
Hanging your framed artwork is the final step in the framing process, allowing you to showcase your masterpiece on the wall. Here's how to do it:
- Attach Hanging Hardware: Decide on the placement of your hanging hardware, such as D-rings, sawtooth hangers, or hanging wire, on the back of the frame.
- Secure the Hardware: Use screws or nails to secure the hanging hardware to the back of the frame, following the manufacturer's instructions for proper installation.
- Find the Wall Studs: Use a stud finder or tap along the wall to locate the studs where you'll be hanging the artwork. Mark the positions of the studs lightly with a pencil.
- Position the Artwork: Hold the framed artwork against the wall at the right height and location, making sure it's level and centred. Adjust as needed until you're satisfied with the placement.
- Mark the Wall: Use a pencil marker to mark the place of the hanging hardware on the wall, aligning them with the studs if possible. Double-check the measurements and markings to ensure accuracy.
Professional Framing Process for Canvas Art

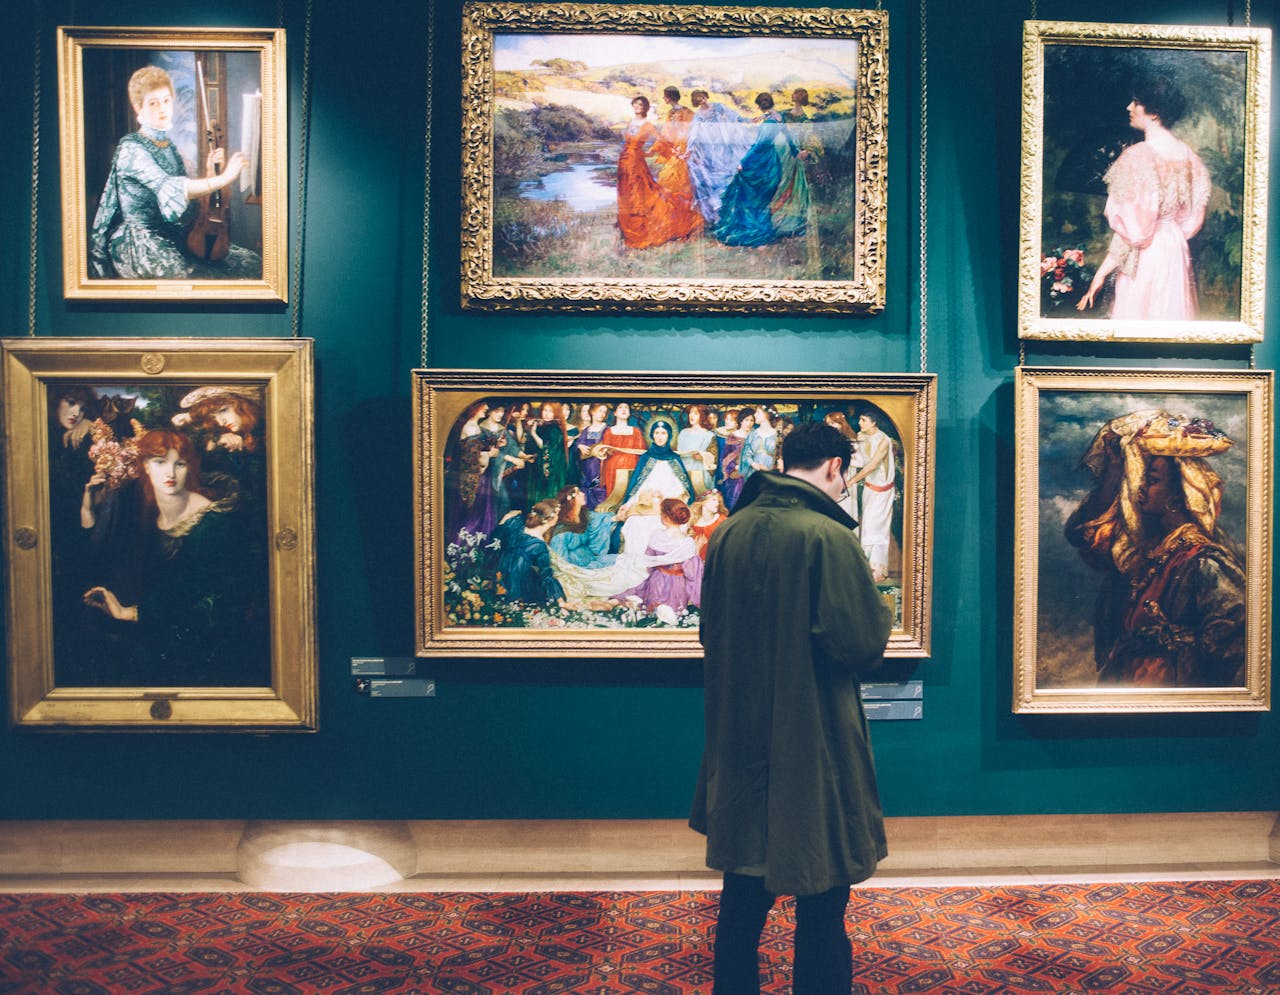
Professional framing elevates the presentation of canvas art, offering a polished and refined touch that enhances its visual appeal and protects its integrity. From selecting high-quality materials to precise craftsmanship, the professional framing process ensures that your artwork is showcased to its fullest potential.
Consultation and Assessment
In the initial consultation and assessment stage of professional framing for canvas art, the preferences of both the framer and the client are carefully considered to ensure the best possible outcome. Here's what typically happens:
- Frame Style: Professional framers discuss frame styles with clients, considering artwork style, theme, and client preferences. They offer options like traditional, contemporary, ornate, or minimalist frames, providing samples for selection.
- Matting Options: Matting enhances canvas art by providing visual separation and depth. Professional framers assess suitability and discuss options with clients, considering factors like colour, thickness, and texture.
- Glass Options: Professional framers discuss glass options for artwork protection, including regular, UV-protective, or museum-quality glass. They consider factors like UV protection and glare reduction based on artwork needs and client preferences.
- Assessment of Canvas Art: Professional framers meticulously assess canvas art, noting size, material, condition, and any irregularities that may impact framing. They measure accurately to ensure a precise fit.
Frame and Mat Selection
When it comes to frame and mat selection for canvas art, professional framers prioritise both aesthetic appeal and preservation. Here's how they approach the selection process, emphasising the use of archival-quality materials:
- Frame Selection: Professional framers select frames based on style, colour, and material to complement and enhance artwork. Options include wood, metal, and synthetic materials, each with distinct characteristics.
- Matting Materials: Matting adds visual separation and depth between artwork and frame. Professional framers offer a variety of materials and colours for customised presentation.
- Archival-Quality Materials: Professional framers use archival-quality materials to safeguard artwork from deterioration due to light, humidity, and pollutants. These materials are acid-free, lignin-free, and pH-neutral, ensuring long-term preservation without degradation or discolouration. This approach is crucial for maintaining the artwork's longevity and value, especially for valuable or sentimental pieces.
Canvas Preparation
Canvas preparation is a crucial step in the framing process, ensuring that the artwork is properly tensioned and preserved for longevity. Here's how professional framers approach canvas preparation:
- Stretching Technique: Professional framers stretch the canvas tightly over stretcher bars, securing it with staples or tacks to prevent warping and sagging. This ensures a smooth and taut surface, enhancing the artwork's presentation within the frame.
- Minor Cleaning or Dust Removal: Professional framers may clean the back of the canvas, if needed, to maintain its cleanliness and integrity. They use methods like gentle brushing or compressed air to remove dust and debris. This practice safeguards the artwork's condition and prevents contaminants from affecting the canvas over time, contributing to its longevity.
Frame Assembly and Matting
During the frame assembly and matting process, professional framers meticulously prepare the artwork for presentation, ensuring both aesthetic appeal and preservation. Here's how they typically approach this stage:
Frame Assembly:
- Professional framers carefully assemble the frame, ensuring that all components fit together seamlessly and securely.
- If the frame requires cutting or customisation, they use precise measurements and cutting tools to achieve the desired dimensions.
- Corner joints are meticulously aligned and joined using appropriate techniques, such as mitred corners, ensuring a seamless and professional finish.
Matting Process:
- Professional framers assess whether matting is appropriate for the artwork, considering factors such as size, style, and client preferences.
- Matting options such as colour, thickness, and texture are discussed with the client to complement the artwork and enhance its visual presentation.
- The artwork is carefully positioned within the matting, ensuring that it is centred and aligned correctly.
- Once assembled, the framed artwork is inspected for any imperfections or defects, and any necessary adjustments are made to ensure a flawless finish.
Glass Selection and Glazing

Glass selection and glazing are critical steps in the framing process, ensuring the protection and preservation of the artwork. Here's how professional framers approach this stage:
Glass Selection:
Professional framers recommend the appropriate type of glass based on the needs of the artwork. For valuable or light-sensitive pieces, they often recommend UV-protective glass to filter out harmful UV rays that causes fading and deterioration over time.
Cutting and Fitting the Glass:
Once the right type of glass has been selected, professional framers cut it to the exact dimensions of the frame using precision cutting tools.
The glass is carefully fitted within the frame, ensuring a tight and secure fit that protects the artwork from dust, moisture, and other environmental contaminants.
Finishing Touches and Quality Check
In the finishing touches and quality check phase of the framing process, professional framers meticulously ensure that every aspect of the framed artwork meets the highest standards of craftsmanship and presentation. Here's how they typically approach this stage:
Finishing Process:
- Professional framers carefully inspect the framed artwork for any imperfections or inconsistencies in the frame, matting, glass, or backing.
- Any necessary adjustments or final touches are made to ensure that all components are aligned, secure, and aesthetically pleasing.
- Dust and debris are removed from the surface of the glass and the back of the frame to ensure a clean and pristine presentation.
- Any protective coverings or backing boards are applied to the back of the frame to provide additional support and protection for the artwork.
Quality Check:
- They inspect the frame for any visible defects, such as scratches, dents, or misalignments, and make any necessary corrections or replacements.
- The framed artwork is carefully examined from various angles to ensure that it is free from dust, smudges, or other blemishes.
- The final inspection includes verifying the dimensions, alignment, and overall appearance of the framed artwork to make sure that it meets the highest standards of quality and presentation.
Delivery and Installation
In the final stages of the framing process, professional framers offer delivery service and professional installation to ensure a seamless and stress-free experience for the client. Here's how they typically handle delivery and installation:
Delivery Service:
- Professional framers offer delivery options to transport the framed artwork safely and securely to the client's desired location.
- Delivery service may include careful packaging and handling to protect the framed artwork during transit, ensuring that it arrives in pristine condition.
- Clients are provided with estimated delivery times and tracking information to monitor the progress of their orders.
Professional Installation:
- Upon delivery, professional framers offer professional installation services to ensure that the framed artwork is securely and correctly installed on the client's wall.
- Experienced installers use appropriate tools and techniques to hang the artwork safely and securely, taking into account factors such as wall type, weight distribution, and aesthetic considerations.
- Installers ensure that the artwork is level, centred, and aligned correctly, providing a visually pleasing presentation that enhances the overall look of the space.
DIY vs Professional Framing: Pros & Cons
| Feature | DIY Framing | Professional Framing |
| Cost | More affordable | More expensive (labor costs) |
| Creative Control | High (choose frame, matting, hardware) | Lower (recommendations from professionals) |
| Sense of Accomplishment | High (Satisfactory from DIY project) | Lower |
| Suitable for | Budget-friendly projects, less valuable art, DIY enthusiasts | Valuable art, special needs, time constraints |
| Skills and Tools Required | Basic carpentry, skills, tools (saw, miter box) | No specific skills required |
| Material Quality | May be limited in finding archival-grade materials | Uses high-quality, archival-grade materials |
| Risks and Mistakes | Higher (improper framing can damage the canvas) | Lower (professionals ensure proper framing) |
| Time Commitment | Time-consuming process | Saves time and effort |
| Expert Advice | Limited | Access to professional guidance on materials and design |
| Custom Framing Options | Limited (may require finding pre-made frames for unique sizes) | Can accommodate unique sizes, shapes, and special needs |
| Guaranteed Results | No guarantee | Guaranteed perfect fit and polished finish |
Cost of Canvas Frame
The cost of framing canvas art depends on factors, including the size of the artwork, the type of framing materials used, and whether the framing is done DIY or by a professional framer.
DIY Framing:
- DIY framing can be more cost-effective for those who are willing to invest time and effort into the framing process.
- The cost of DIY framing typically includes the price of materials such as the frame, matting (if desired), glass or acrylic glazing, backing board, and hanging hardware.
- DIY framers have the flexibility to choose more affordable framing materials and customise the framing process to suit their budget.
Professional Framing:
- Professional framing services offer convenience, expertise, and quality craftsmanship, but they can come at a higher cost compared to DIY framing.
- The cost of professional framing varies depending on factors such as the size of the artwork, the type of framing materials selected, and any additional services such as delivery and installation.
- Professional framers often use high-quality, archival-grade materials that provide superior protection and longevity for the artwork, which may contribute to the higher cost.
- While professional framing may be more expensive upfront, it can offer peace of mind knowing that the artwork is being framed by experienced professionals using the best materials and techniques.
FAQs
How can I ensure my framed canvas art lasts a long time?
To preserve your framed canvas art, use archival-quality materials, protect it from sunlight, maintain stable humidity and temperature, handle it with care, clean the glazing regularly, address damage promptly, and schedule professional maintenance every few years.
Do I need a special frame for canvas art?
For canvas art, using a frame designed specifically for canvases, known as stretcher frames, is recommended. These frames accommodate the thickness of the canvas and provide proper support to prevent warping. However, standard picture frames can be used if they're deep enough to support the canvas adequately and align with your aesthetic preferences.
What size frame should I choose?
When choosing a frame size for your canvas art, consider the artwork's dimensions, any matting preferences, and desired visual impact. Leave breathing room around the artwork, factor in room size, and choose a frame style that complements the artwork and decor.
Conclusion
In conclusion, DIY framing offers cost-effectiveness, customisation, and skill development for art enthusiasts. It allows individuals to save money, customise frame styles, and gradually develop framing skills. Furthermore, engaging in DIY framing fosters a sense of accomplishment. For quality artwork suitable for DIY framing, explore Mintsuper Art for inspiration and options to elevate framing projects.