

How to Hang Canvas Art on Wall? 5 Easy Ways & Pro Tips
Posted by MintSuper Art on 12th Apr 2024
If you want to hang canvas art, make sure that you are ready for some challenge. Whether it's a canvas print, wooden frame, or a larger piece, properly displaying it can significantly enhance the aesthetic of any room. However, with the right techniques, it's easier to avoid issues such as misalignment, instability, or damage to the walls.
In this guide, you will discover five easy methods on how to hang canvas art securely and aesthetically. These include using picture hanging strips, wire hanging, wooden frames, sawtooth hangers, and French cleats. Each method caters to different preferences and sizes of canvas art, ensuring a secure and visually pleasing display.
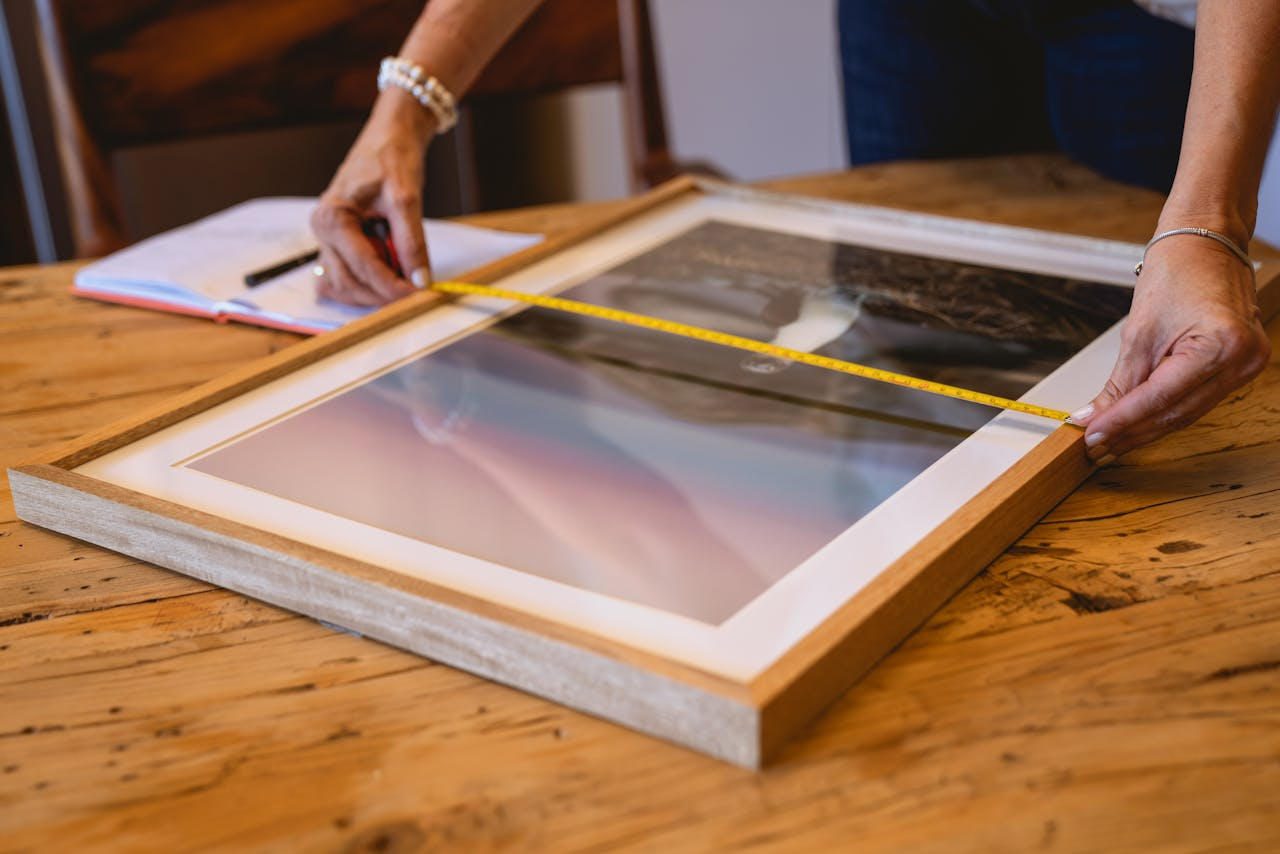
Whether you're working with smaller canvases or larger pieces, you will learn step-by-step instructions along with pro tips to ensure your artwork is hung with precision and care. From measuring and marking to attaching the appropriate hardware and checking for stability, equipped with the essential tools and techniques to transform any wall into a gallery-worthy display for your canvas art.
Essential Tools and Materials

When it comes to hanging canvas art, having the right tools and materials is essential for a successful and secure display. Common tools needed for most hanging methods include a hammer, tape measure, spirit level, painter's tape, and a pencil. These tools are important for accurately measuring the canvas, marking placement on the wall, ensuring straight and level hanging and making adjustments as needed. Additionally, depending on the chosen hanging method, variations in materials may include different types of hanging hardware, such as sawtooth hangers, D rings, or French cleats.
Sawtooth hangers are a secure option attachment point for hanging the canvas, while picture hanging strips offer an alternative for lighter pieces without the need for a nail or hook. Hanging wire is suitable for larger canvases, providing additional support and stability. D rings serve as an alternative to sawtooth hangers for securing the canvas centre to the wall, offering a sturdy mounting option. French cleats are strong mounting hardware ideal for heavier canvases or frames, ensuring they are securely attached to the wall.
Aside from the essential tools and materials, it's advisable to have a damp cloth on hand for cleaning any marks or debris on the wall before hanging. These tools, along with the right hanging method, ensure a secure and visually pleasing display for your canvas art.
What Should You Do Before Hanging Your Canvas Art?
Before hanging canvas art, it's important to prepare the space and gather the necessary tools. Ensure you have a measuring tape, spirit level, hammer, pencil, and painter's tape. Clean the wall surface with a cloth to wipe any dirt or debris, providing a smooth surface for hanging.
Consider the weight and size of your canvas to determine the appropriate hanging method. Larger canvases may require additional support like hanging wire or French cleats, while smaller pieces could be hung with picture hanging strips or a single nail.
Use the measuring tape and spirit level to precisely measure and mark the placement of the canvas on the wall. Double-check for straightness and levelness before making any permanent attachments. With careful planning and execution, you can hang your canvas art securely and beautifully, transforming your space aesthetically.
5 Easy Ways to Hang Canvas Art
Here are some step-by-step guide and creative ideas on how to hang canvas art on your wall:
Nail and Wire Method
- Measure and Mark: Utilise a tape measure to estimate the desired placement of your canvas art on the wall. Mark the top centre point with a pencil.
- Position the Hanging Hardware: Depending on the weight and size of your canvas, choose appropriate hanging hardware such as D rings or sawtooth hangers. Attach them to the back of the canvas frame, ensuring they are evenly spaced and centred.
- Select Nails: Choose nails of the appropriate size and weight capacity for your canvas and wall type. Consider the weight of the canvas and the wall's material when selecting the nails. For heavier canvases or plaster walls, use nails with larger diameters for added support.
- Position the Nails: Using the pencil mark as a guide, position the nails on the wall at the desired height and spacing. For larger canvases, consider using two nails for added stability. Ensure the nails are level and evenly spaced apart.
- Attach Hanging Wire: Cut a length of wire slightly longer than the width of the canvas. Secure one end of the wire to one D ring or sawtooth hanger on the back of the canvas, and then thread the wire through the other D ring or hanger. Twist tightly to secure it in place.
- Hang the Canvas: Carefully lift the canvas and position it against the wall, aligning the hanging wire with the nails. Gently lower the canvas onto the nails, ensuring it is straight and level.
- Adjust if Necessary: Step back and double-check the alignment and levelness of the canvas. Make any necessary adjustments by repositioning the nails or straightening the canvas as needed.
- Secure the Wire: Once the canvas is properly positioned, ensure the hanging wire is securely wrapped around the nails to prevent the canvas from slipping or falling.
Tips for Choosing the Right Size Nails and Positioning:
- Choose nails with a weight capacity that exceeds the weight of your canvas to ensure they can securely support it.
- Position the nails at eye level or slightly above for optimal viewing.
- For larger canvases, use two nails spaced apart for added stability.
- Leave enough space between the top of the canvas and the nails to allow for easy hanging and adjustment.
D-Ring and Picture Hook Method
- Check Pre-Installed Hardware: Check the back of your canvas to see if D-rings are pre-installed. If so, ensure they are securely attached to the frame and evenly spaced.
- Measure and Mark: Determine the desired placement of your canvas on the wall using a measuring tape and pencil. Mark the top centre point on the wall where you want the canvas to hang.
- Choose Picture Hooks: Select appropriate picture hooks that can support the weight of your canvas. Ensure they have a weight capacity exceeding that of your artwork.
- Position Hooks: Position the picture hooks on the wall, aligning them with the pencil mark made for the top centre point. Use a spirit level to ensure they are straight and level.
- Attach D-Rings: If your canvas does not have pre-installed D-rings, attach them to the back of the canvas frame using screws and a screwdriver. Place them evenly spaced near the top corners of the frame.
- Hang the Canvas: Lift the canvas and position it against the wall, aligning the D-rings with the picture hooks. Carefully lower the canvas onto the hooks, ensuring it is straight and level.
- Adjust if Necessary: Step back and double-check the alignment and levelness of the canvas. Make any necessary adjustments by repositioning the hooks or straightening the canvas as needed.
- Secure the Canvas: Once the canvas is properly positioned, ensure it is securely hanging on the hooks.
If your canvas does not have pre-installed D-rings, you can add screw eyes to the back of the frame. Simply screw them into the frame near the top corners, ensuring they are evenly spaced and securely attached.
Sawtooth Hanger Method
- Check the Sawtooth Hanger: Inspect the back of your canvas to ensure the sawtooth hanger is securely attached to the frame. It should be centred and firmly secured with screws or nails.
- Measure and Mark: Determine the desired placement of your canvas on the wall using a measuring tape and pencil. Mark the top centre point on the wall where you want the canvas to hang.
- Choose the Right Wall: Select a suitable wall that can support the weight of your canvas. Ensure the wall surface is clean and free of debris.
- Position the Canvas: Hold the canvas against the wall, aligning the top centre point with the pencil mark made on the wall. Use a spirit level to ensure the canvas is straight and level.
- Secure the Canvas: Once the canvas is properly positioned, press down firmly on the sawtooth hanger to ensure it hooks securely onto the wall.
Tips for Adding Stability for Bigger Canvases:
- For heavier canvases, add additional support, such as adhesive picture hanging strips or wall anchors. These can help distribute the weight and provide added stability.
- If the sawtooth hanger alone does not provide enough support for your canvas, consider reinforcing it with screws or nails into the wall. This will help secure the canvas more firmly and prevent it from shifting or falling.
Adhesive Strips Method
- Assess Weight and Surface Suitability: Before using adhesive strips, assess the weight of your canvas art and the suitability of your wall surface. Adhesive strips are ideal for lightweight canvases, but ensure they can support the weight of your artwork. Additionally, ensure your wall surface is clean, smooth, and suitable for adhesion.
- Prepare the Surface: Clean the wall surface with a damp cloth to eliminate any dust, dirt, or debris. Let the surface dry completely before proceeding.
- Choose the Right Adhesive Strips: Select adhesive strips that are suitable for the weight of your canvas and the type of wall surface. Most adhesive strips come with weight capacity guidelines, so be sure to choose ones that can support your artwork.
- Measure and Mark: Determine the desired placement of your canvas on the wall using a measuring tape and pencil. Mark the top centre point on the wall where you want the canvas to hang.
- Apply Adhesive Strips: Following instructions, apply the adhesive strips to the back of the canvas frame. Ensure they are evenly spaced and positioned near the top corners of the frame.
- Position the Canvas: Hold the canvas against the wall, aligning the top centre point with the pencil mark made on the wall. Press down firmly on the canvas to adhere it to the wall.
- Apply Pressure: Apply pressure to the canvas for a few seconds to ensure the adhesive strips bond securely to the wall surface.
- Check Stability: Once the canvas is properly positioned, gently tug on it to test its stability. If it feels secure, your canvas art is successfully hung using adhesive strips.
Considerations for Weight Capacity and Wall Surface Suitability:
- Always check the weight capacity of the adhesive strips and ensure they can support the weight of your canvas art.
- Adhesive strips may not be suitable for all wall surfaces, such as textured or porous walls. Test a small area first to ensure proper adhesion.
Gallery Hanging System Method
A gallery hanging system is a versatile and professional way to hang multiple canvases or artworks on a single wall. It typically consists of a track installed along the top of the wall, with adjustable hooks or cables that allow for easy repositioning of the artwork. This system provides flexibility in arranging and rearranging your art pieces without damaging the wall surface.
To install a gallery hanging system, you'll need to buy a kit from a hardware. These kits typically include the track, hooks or cables, and all necessary hardware for installation. Follow the manufacturer's instructions carefully, ensuring the track is securely attached to the wall and levelled properly.
Once the track is installed, you can easily hang your canvases by attaching the hooks or cables to the back of each frame and sliding them into the track. The adjustable nature of the system allows you to experiment with different arrangements and spacings until you achieve the desired look.
Pro Tips for Perfect Placement
Here are some pro tips for hanging a canvas perfectly on your wall:
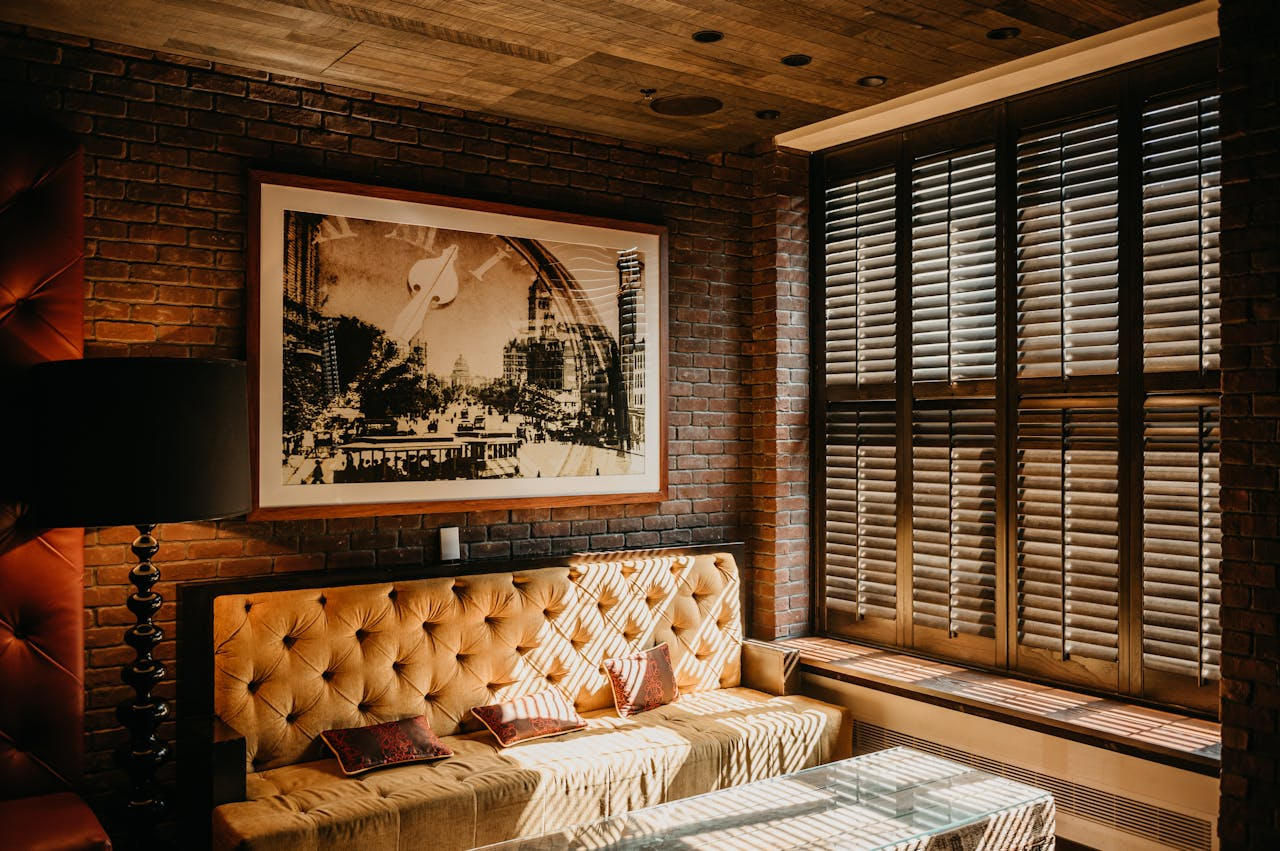
Finding the Right Height
Finding the right height for hanging your canvas art is key to creating an attractive display. Standard recommendations advise hanging artwork at eye level, around 57 to 60 inches above the surface floor to the centre of the artwork. If hanging above furniture, leave 6 to 8 inches of space between the top furniture and the bottom of the artwork for balance.
However, adjust the height based on your preference and artwork size. Larger canvases may benefit from being hung slightly higher, while smaller pieces should be placed at eye level. Experiment with heights using painter's tape before making permanent attachments to ensure the best placement for your canvas art.
Aligning for Balance
Using a level is crucial for achieving straight hanging of your canvas art, ensuring it appears balanced and professional on the wall. Start by placing the level horizontally along the top edge of the canvas and adjust until the bubble is centred, indicating a perfectly horizontal position. Then, place the level vertically along one side of the canvas and repeat the process for a perfectly vertical alignment.
Alternatively, use a laser level for even greater precision by marking points where the edges of the canvas will hang. Step back to visually assess alignment from different angles before making permanent attachments to ensure your canvas art is displayed with precision.
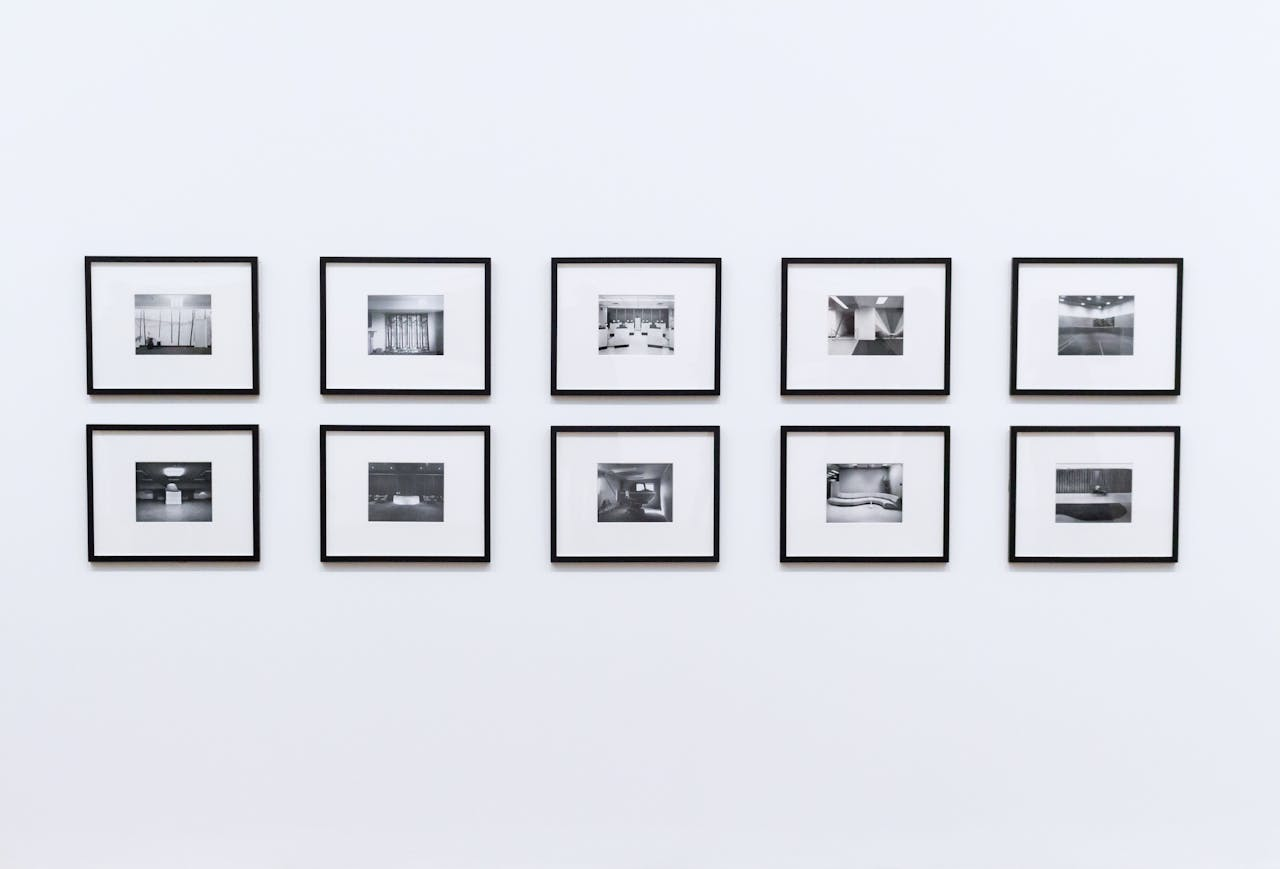
Multiple Canvas Arrangements
For a visually appealing gallery wall with multiple canvases, consider layout ideas like a grid or staggered arrangement. In a grid layout, evenly space canvases in rows and columns for a clean look. Alternatively, use a staggered layout with varied heights and spacing for a dynamic feel.
Maintain visual balance by spacing canvases consistently and mixing sizes, orientations, and subjects. Experiment with different arrangements using painter's tape or templates before finalizing.
Safety Considerations
Choosing the appropriate hanging method for your canvas art's weight is paramount for safety. Heavier pieces necessitate stronger hardware like screws or wall anchors to securely support them and prevent wall damage.
For heavier artwork, opt for hanging on secure wall studs using screws or hooks directly into the studs for added stability. If studs aren't available, consider alternative methods like picture hanging strips or adhesive hooks for delicate walls to minimize damage.
Troubleshooting Tips for Uneven Hanging
When troubleshooting uneven hanging issues with your canvas art, start by identifying the problem. Check if the canvas itself is causing the unevenness due to warping or bending or if it's the hanging hardware that's misaligned. Once you've pinpointed the issue, you can proceed with the appropriate solution.
If the canvas itself causes the unevenness, try adjusting the hanging hardware. Move it slightly up or down to compensate for any irregularities in the canvas's shape. Additionally, you can use shims or spacers behind the canvas to even out any warping or bending, ensuring a balanced hanging.
On the other hand, if the hanging hardware is the culprit, carefully remove it and reposition it to ensure it's level. Use a level to double-check the alignment before reattaching. Consider using alternative hanging methods like adhesive strips or hooks if traditional hardware continues to cause issues.
Creative Hanging Ideas for Unique Canvas Art
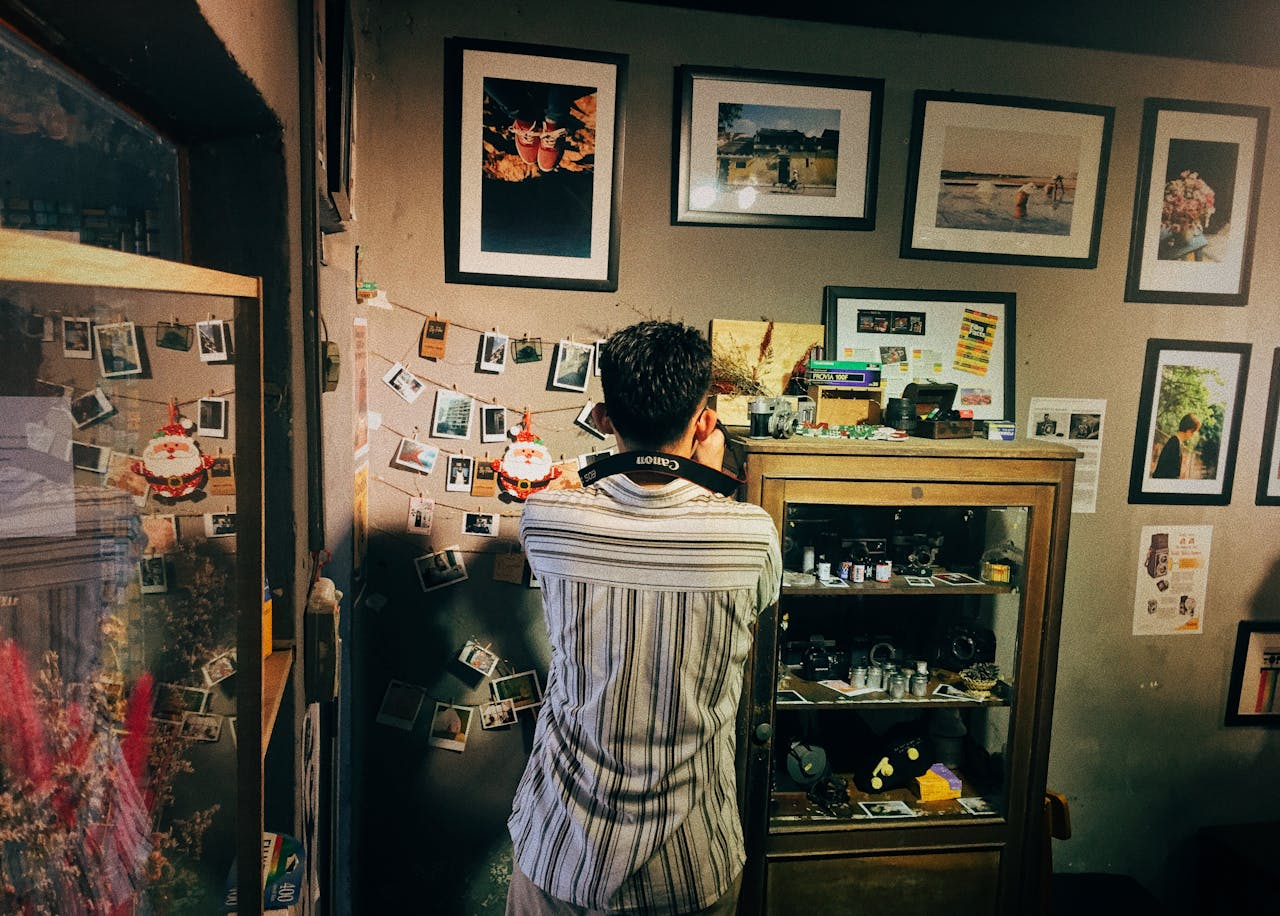
When you want to hang a canvas, exploring creative hanging ideas can enhance its visual impact and add personality to your space.
Floating Canvas Illusion:
Create a captivating illusion by suspending the canvas art slightly away from the wall, giving it a floating effect. This can be achieved by using transparent wire or fishing line attached to the top corners of the canvas and secured to hooks or screws on the wall. The space between the canvas and the wall adds depth and dimension to the art, making it appear as though it's floating in mid-air.
Branch Out with Natural Elements:
Incorporate natural elements into your hanging display by utilizing branches or driftwood as alternative hanging hardware. Secure the canvas to the branches using twine or wire, allowing the natural curves and textures of the branches to complement the artwork. This rustic and organic approach adds a touch of nature to your space while creating a unique and visually appealing display.
Think Outside the Frame:
Experiment with unconventional framing options or forgo frames altogether to showcase the raw edges of the canvas. Consider mounting the canvas directly onto a wooden board or using decorative clips to hold it in place. Alternatively, explore innovative hanging methods such as attaching the canvas to a wire grid or hanging it from a clothesline with miniature clothespins. Embracing the canvas's natural form and texture can create a contemporary and artistic display that highlights its inherent beauty.
Conclusion
Displaying canvas art offers numerous benefits, from adding personality and warmth to space to elevating its aesthetic appeal. With the various hanging methods outlined, hanging canvas art has always been challenging. Whether opting for traditional methods like nails and wires or exploring more creative approaches such as floating illusions or natural elements, there's a method to suit every style and preference.
Moreover, the ease of hanging canvas art allows for flexibility and experimentation, encouraging creativity and personalization in decorating your space. By embracing unconventional framing options, exploring alternative hanging hardware, or incorporating unique arrangements, you can create a display that truly reflects your taste and style.
Transform your space into a haven of creativity and inspiration. Exploring a wide selection of canvas art pieces in MintSuper Art will elevate your decor and bring joy to your home. With the right hanging method and a touch of creativity, you can showcase your artwork with pride and make a statement in any room.